how to draw a koala bear on a tree

How to Draw a Koala: Easy Step-By-Step Koala Drawing
Table of Contents:
- How to Draw a Cute Koala
- List of Supplies
- Try This Easy Koala Drawing
- Recommendations
How to Draw a Cute Koala
In honor of Earth Day, let's draw a Koala!
There's nothing as soft and cuddly as a koala bear. These gentle creatures spend their days eating and napping in the eucalyptus trees of Australia and you just get a happy feeling looking at them! It's no wonder that they're a favorite subject of illustrators and painters. That's why we decided to show you how easy it is to draw and paint a koala bear in just six steps. By following these steps, you'll have your own cute koala drawing in no time!
For this project, we used the Arteza Watercolor Artist Paint Half Pans set. Each half pan is filled with 12 solid and vibrant paint colors. This handy set is in a metal tin and makes painting convenient and easy to clean up. All you need is a brush and some water and you're ready to go. You can even use the tin's lid as a palette for mixing your colors!
Let's get started.
List of Supplies
- HB pencil
- Arteza Watercolor Artist Paint, Half Pans - A001 Noir, A605 Fern Green, A307 Sepia Brown
- Arteza Expert Watercolor Paper
Try This Easy Koala Drawing
The best pencil to use for this drawing is one with a hard lead, such as an HB. Hard lead lines are lighter than soft lead lines. This allows the artist to paint over the initial sketch without the lines showing through. It also makes it possible to fully erase the original and unnecessary sketch marks.
It's also important to use heavyweight paper when working with watercolor paint. Papers that are less than 140lb/300gsm tend to buckle and warp once they get wet.
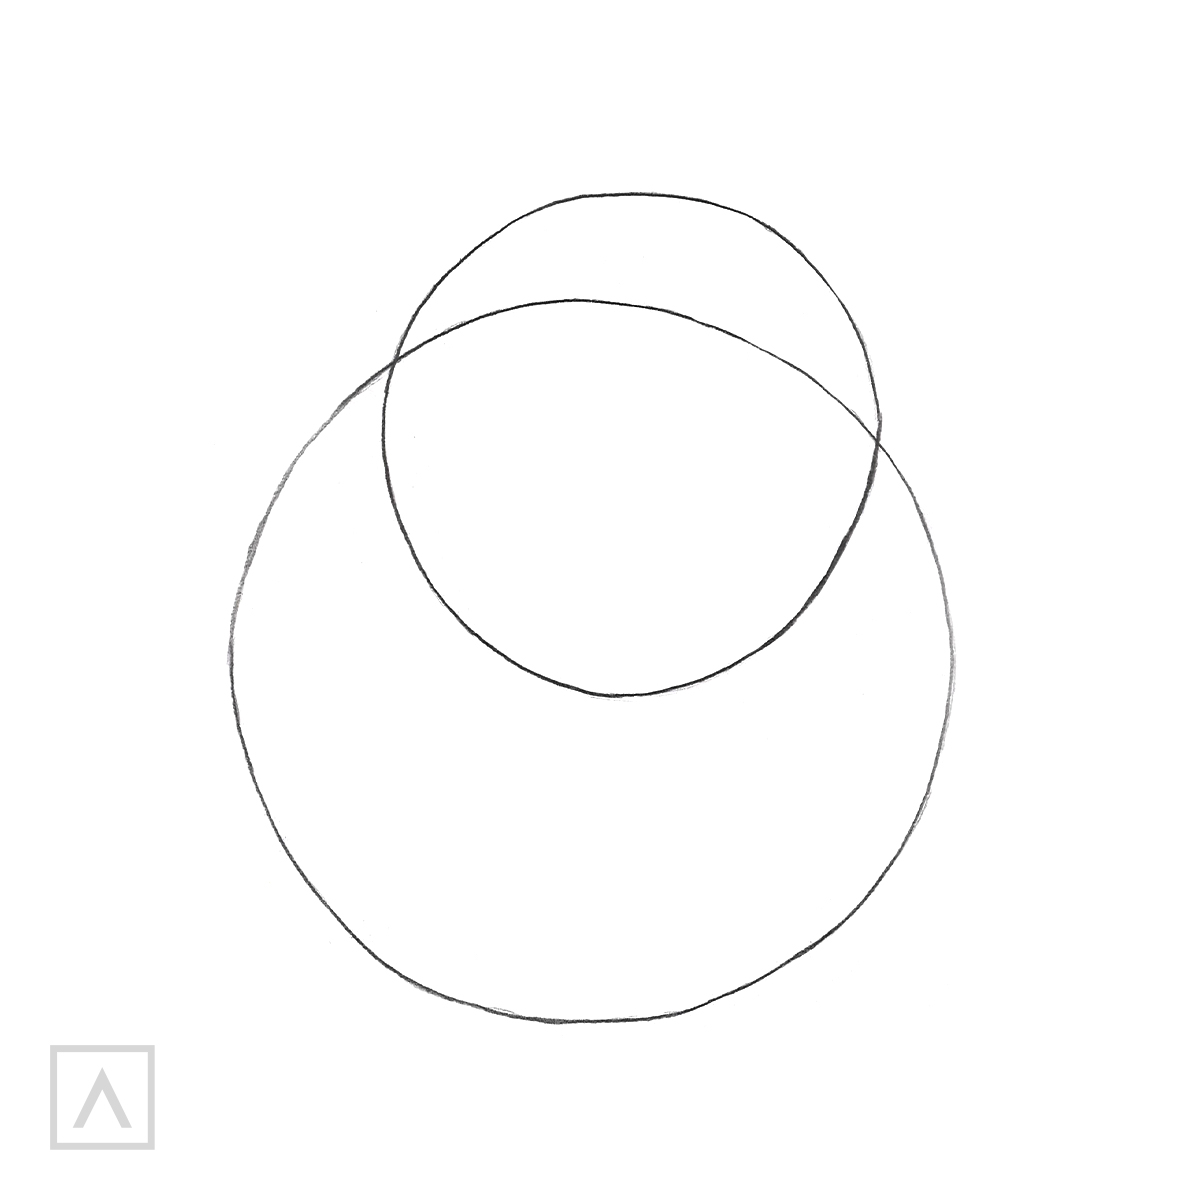
Step 1
When drawing a subject with many parts, it's best to begin with simple basic shapes. Draw a big circle for the koala's body and a small one on the upper part of the first circle for its head.
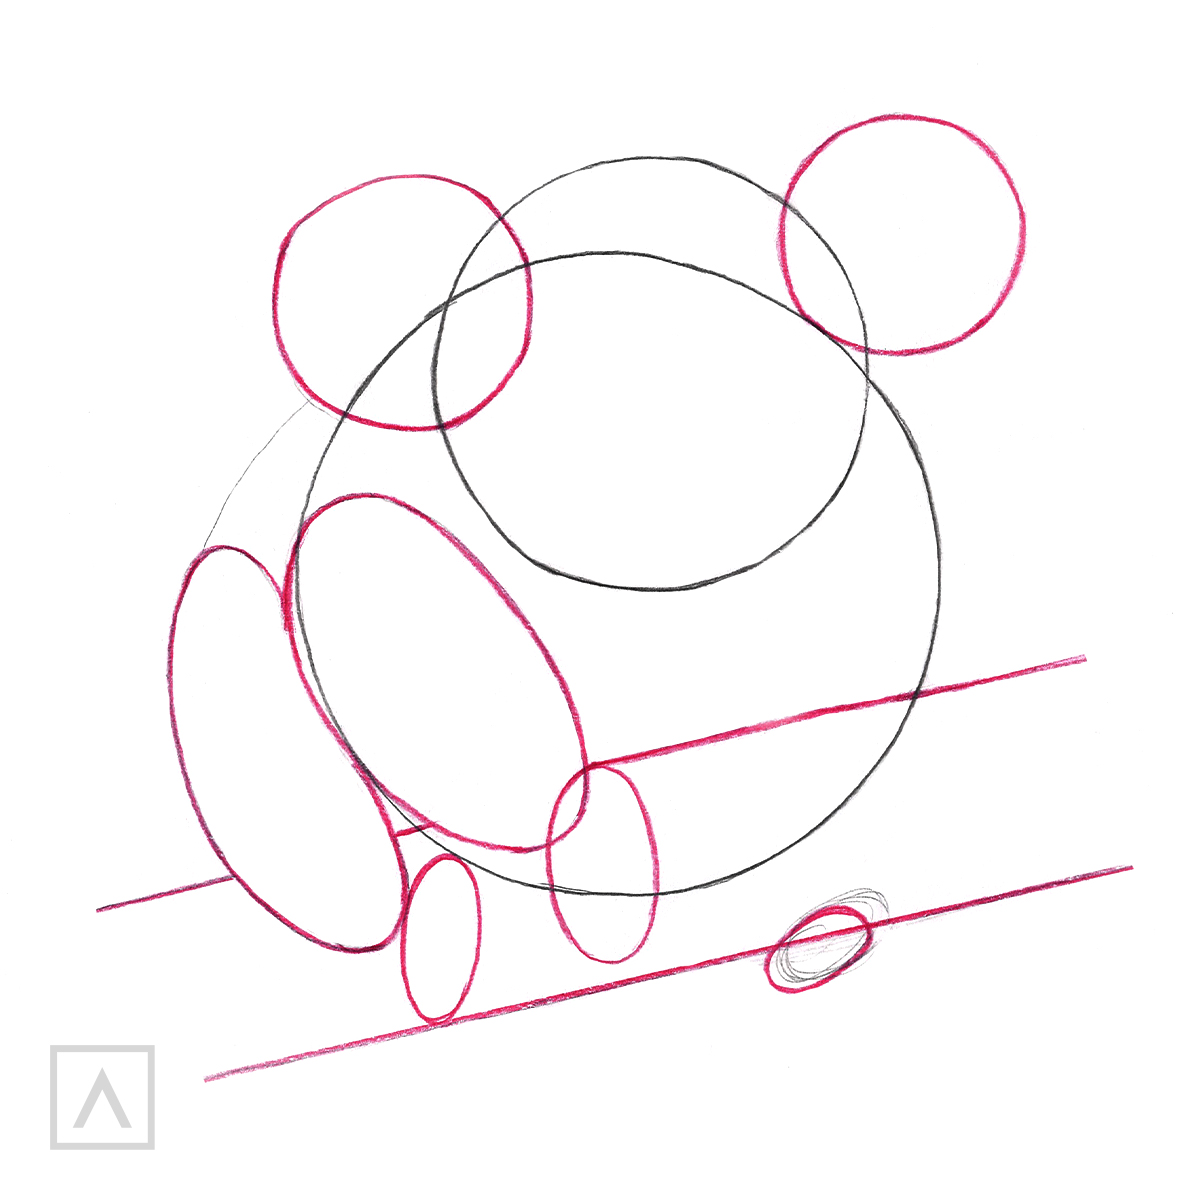
Step 2
Next, draw two small circles on either side of the head for the koala's ears. Place two lines diagonally across the lower part of the koala's body. This will be the branch on which the koala is sitting.
Now, sketch two large ovals along the side of the koala's body to represent the front and back legs. At the ends of these long ovals, place smaller ovals for the paws. Add another smaller oval below the bottom line of the branch to signify the koala's other paw.
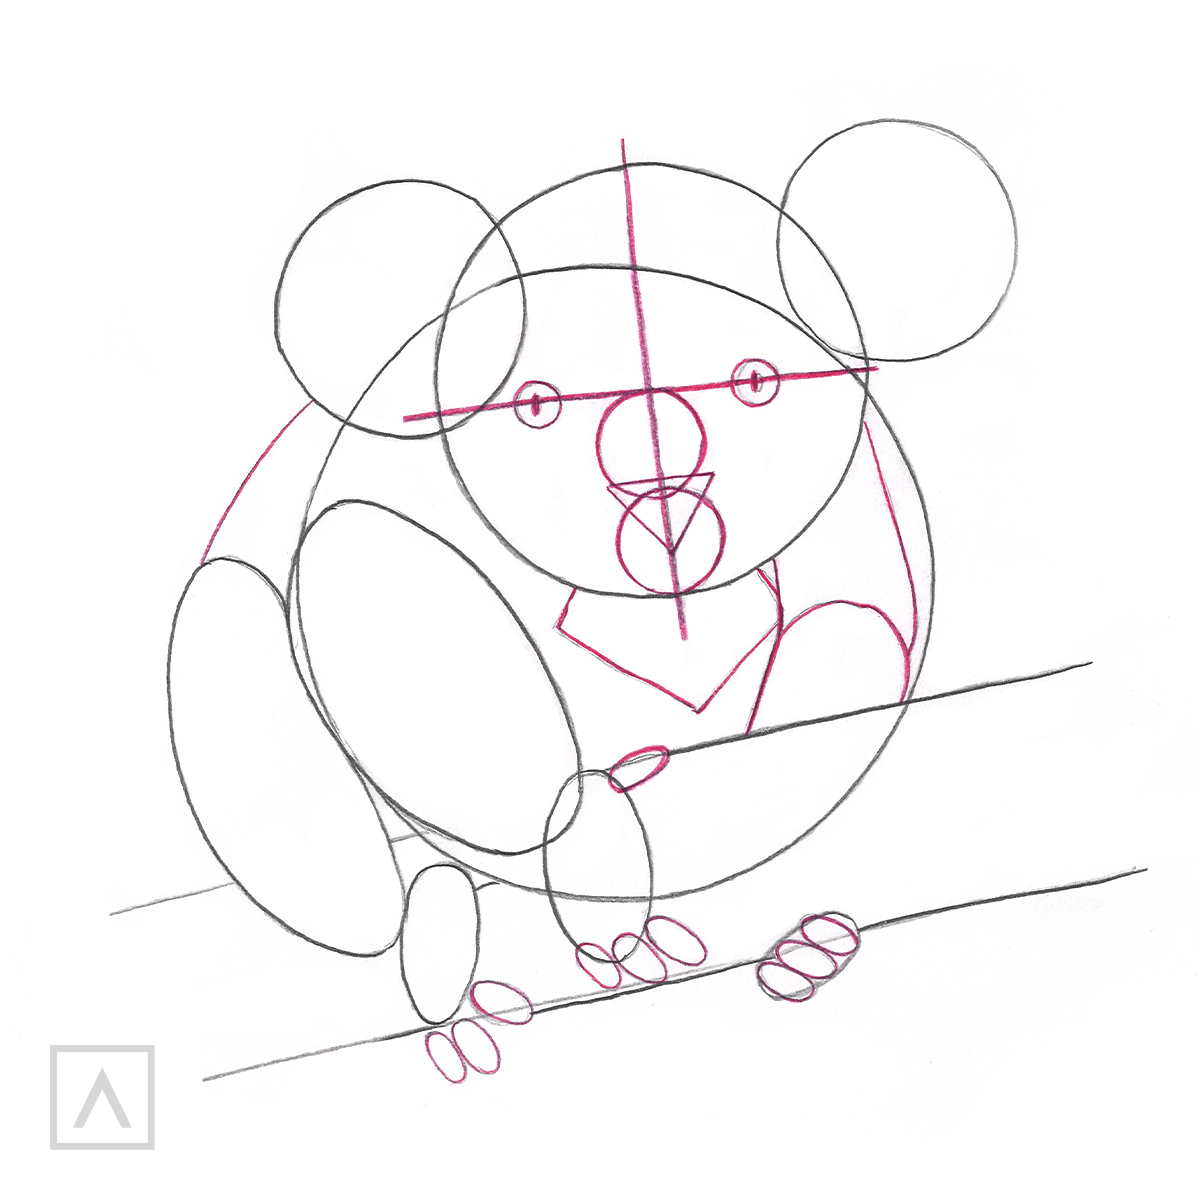
Step 3
To get the placement of the eyes, nose, and mouth correct, divide the face into four sections using a horizontal and vertical line. Draw two circles for the eyes on the horizontal line and another two circles on the vertical line for the nose and chin.
For the tip of the nose, draw an upside-down triangle overlapping the circle for the chin. Next, add another inverted triangle under the head for the chest.
Use a curved line to indicate where the other front leg is behind the branch. Add some lines to form the toes on all the paws.
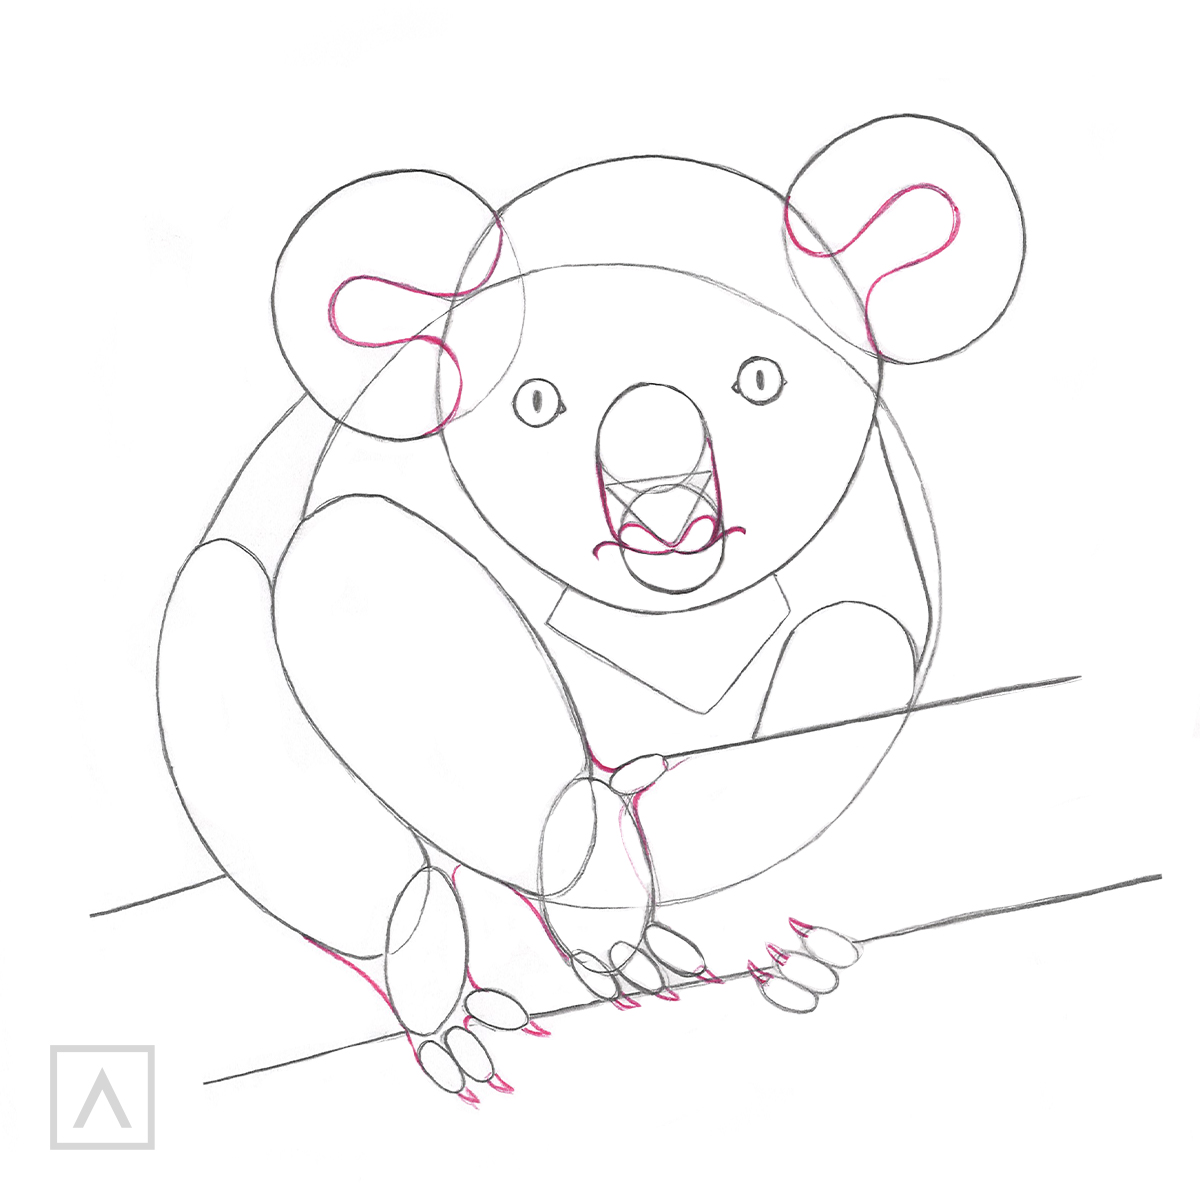
Step 4
To show the depth of each ear, draw a curved line inside each ear. To form the koala's large nose, connect the circle with the triangle on the face. Now, add small lines for the mouth and nostrils.

Step 5
It's time to add color! Start by adding quite a bit of water to the Noir paint and lay down a wash over the entire koala, leaving the lower tips of the ears and the lower part of the arm blank. These areas represent where the light is shining the brightest on the koala's fur. Once this layer has dried, add more Noir over the areas where there would be less light—inside the ears, on the lower part of the face starting at the eyes, under the chin, on top of and under the arm, and along the side of the body. Adding layers like this is called glazing and is an effective technique for building up dark areas. Can you see how adding these shadows makes the koala look more three-dimensional?
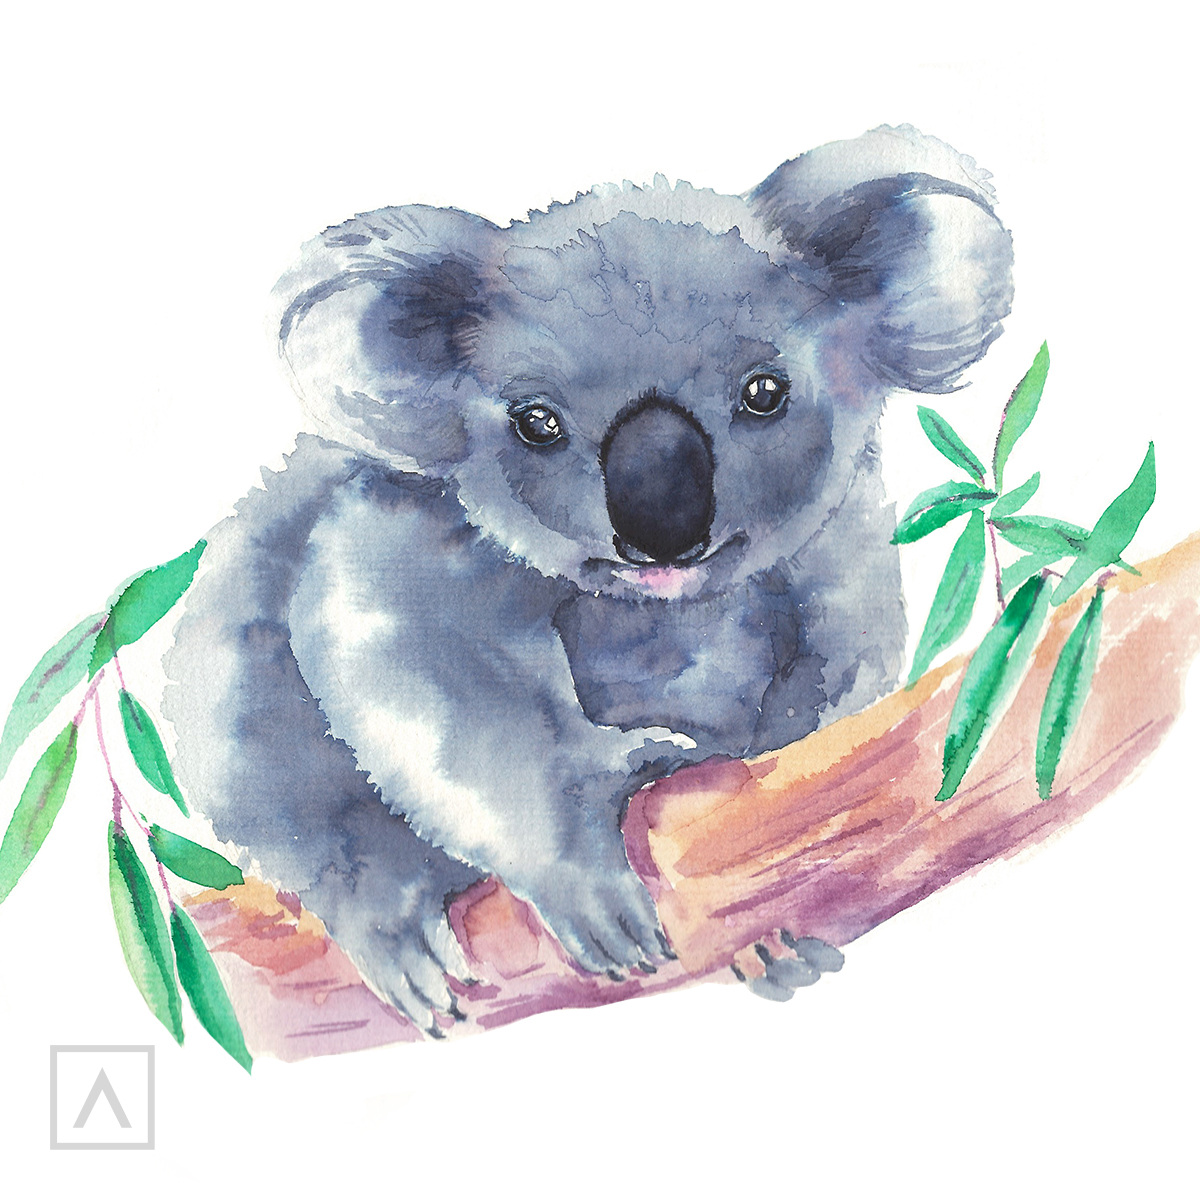
Step 6
Next, use the Sepia Brown to paint the tree branch and Fern Green for the leaves. Let your painting dry before adding details to the face and body. All finished!
Good for you! You've just completed a cute koala drawing and painted it with watercolors!
Recommendations
- Make sure to always choose paper that's at least 140lb/300gsm when using watercolor paint or other water media. This will ensure your paper won't warp.
- By adding water to the paper first and then adding the paint, the paint will spread and create a soft and subtle look.
- You can achieve sharp edges by applying wet paint to a dry surface.
Since it's not always possible to draw a koala from life, you can find lots of pictures on the internet to use as a reference. This will not only let you take your time to make an accurate drawing, but will give you other poses to try. Once you get the hang of how to draw a koala, you're going to want to add them more and more to your artwork and use them on everything from greeting cards to framed art. We hope you've enjoyed this mini-lesson in koala drawing and we'd love to hear from you.
Source: https://arteza.com/blogs/articles/how-to-draw-a-koala
0 Response to "how to draw a koala bear on a tree"
Post a Comment